Pinups with Pixies: The Baby Beehive
One of the things that I really struggled with when I was trying to decide how short to take my hair was the fear that if I went all the way to a pixie cut, I wouldn't have any options left for how to style my hair. In the month or so since I got my hair cut, I really haven't done much with it, but that's as much because I'm lazy as it is because it's hard to coax my hair into something resembling a style. And I have to be honest, it is a pain in the ass to get it to do what I want, especially since my hair is fine, abundant, and relatively healthy these days, but with a little bit of effort I managed to create this baby beehive.
As I mentioned yesterday, I went to see Clairy Browne and the Bangin' Rackettes, and they were absolutely amazing. I love their 1960s girl group sound, and in honor of that era, I decided to attempt this style. It's a bit of an exaggeration to call it a beehive - I just don't have enough hair to create the volume needed for the style - but I thought the little bumped up 'do was cute, and presents a nice option for other short haired girls out there who might want to switch it up a bit.
My hair is about two inches long right now, and I don't think you could do this with hair that's any shorter. I'd recommend doing this on pretty dirty hair (I was on day three here), just to give the strands a bit more grip.
First, section off a bit of the front to serve as your bangs. I went maybe half an inch back from my hairline, but you can do more or less depending on what works for you.
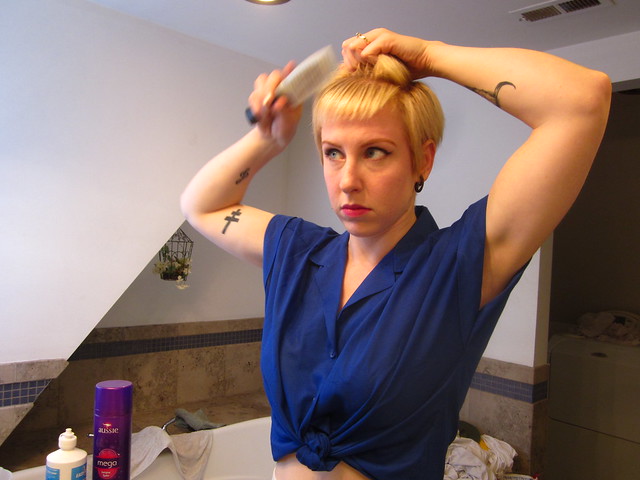
Working back from where you sectioned off your "bangs," vigorously tease your hair to create maximum volume. It is difficult to tease hair this short, but it's easier if you use a fine tooth comb, like the cheap kind you can get at the gas station, or one made specifically for teasing. I managed it with a wide tooth comb, although I didn't get quite as much volume as I would have liked.
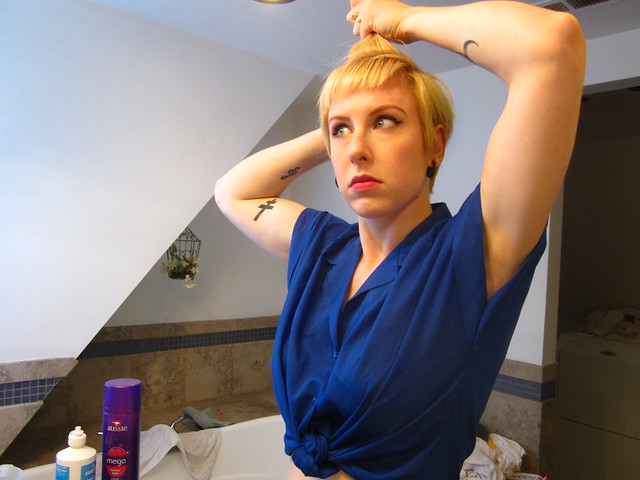
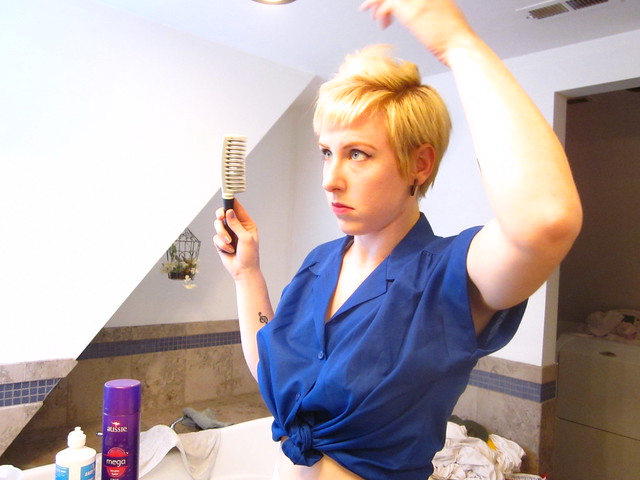
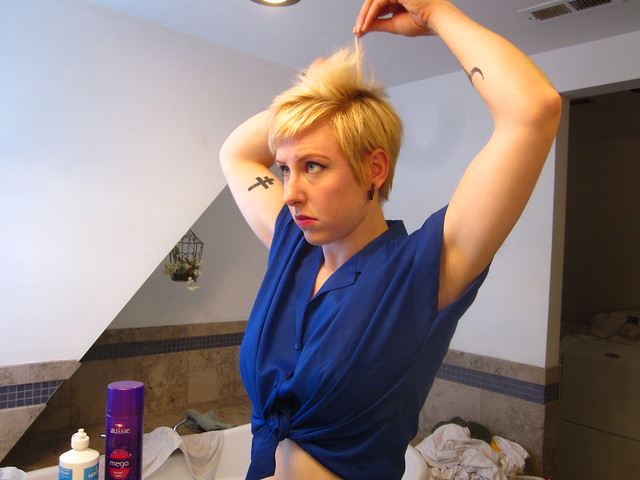
Using a one inch curling iron, curl hair horizontally back from your face to your crown. Ideally, you want two rows of curls all going the same way. Spray with hairspray to hold.
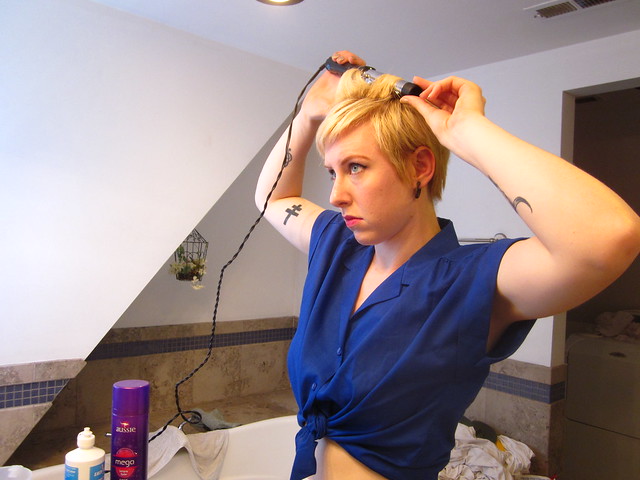
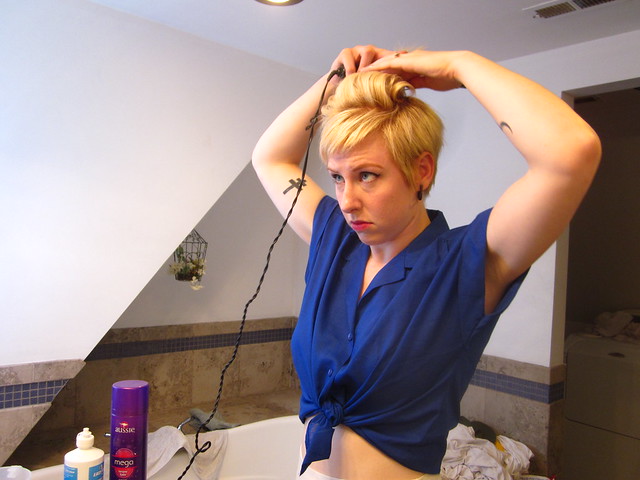
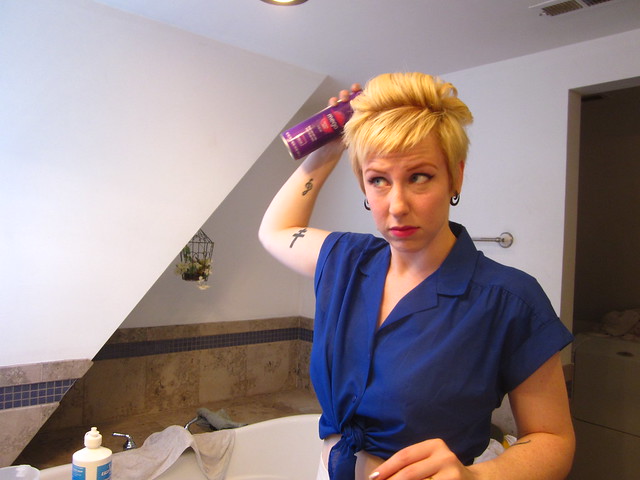
Grab the back row and roll it forward, pinning it so that it rests just behind the first row of curls. You want it to be secure, but not flat. It's what's going to anchor the "beehive," so you want a bit of height and texture to give volume to the bump.
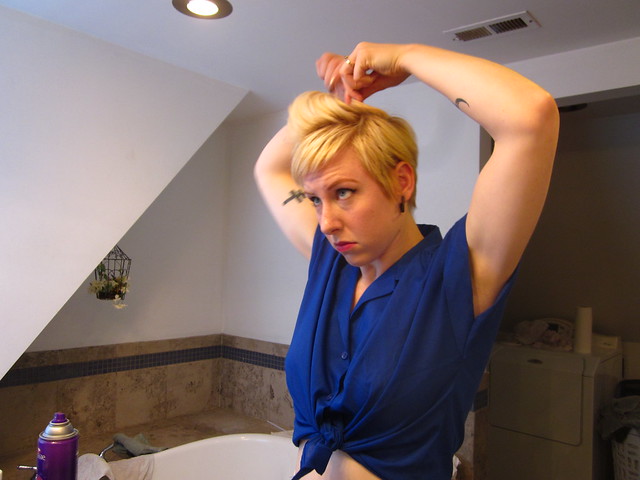
Roll the first row of curls back and slightly under, and pin it to the teased and curled hair you have pinned underneath. I recommend using professional quality pins; you'll be able to use fewer of them, so they be less visible and the weight will rob less volume from your style.
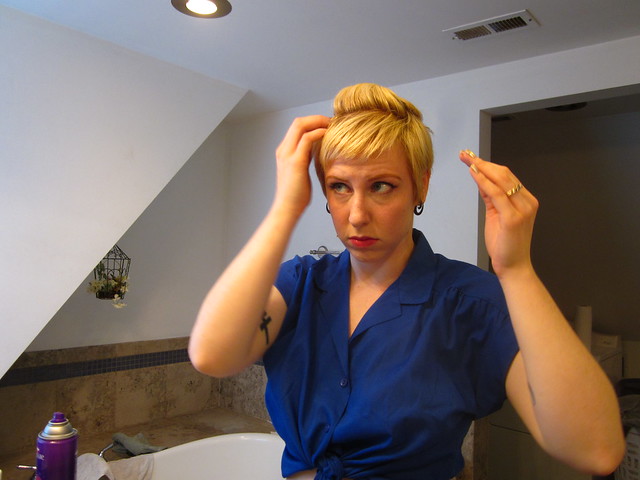
Smooth down any hairs that are too short to pin using hairspray. You may end up having to bring some pieces of hair to your bangs, but some you may be able to coax into becoming part of the beehive.
Add your favorite hair accessory, like a scarf, headband, or flower. I added a scarf, partly to keep everything in place, and partly because I really need to touch up my roots and that does the best job of disguising them.
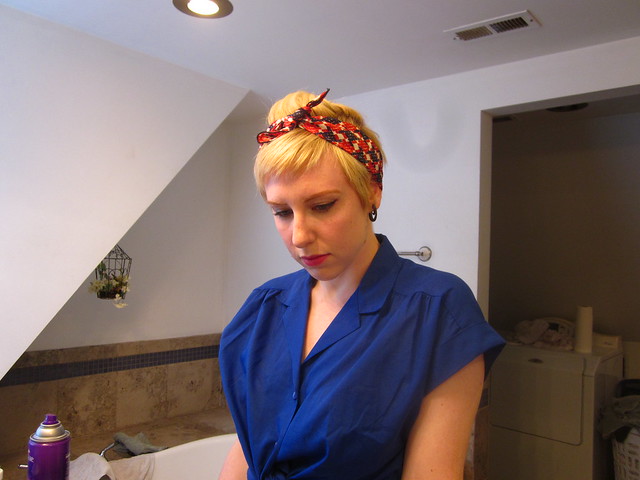
I love having easy, wash-and-go hair, but I really enjoyed the challenge of doing something a little different with my hair. I might have to do more short hair tutorials in the future.
As I mentioned yesterday, I went to see Clairy Browne and the Bangin' Rackettes, and they were absolutely amazing. I love their 1960s girl group sound, and in honor of that era, I decided to attempt this style. It's a bit of an exaggeration to call it a beehive - I just don't have enough hair to create the volume needed for the style - but I thought the little bumped up 'do was cute, and presents a nice option for other short haired girls out there who might want to switch it up a bit.
My hair is about two inches long right now, and I don't think you could do this with hair that's any shorter. I'd recommend doing this on pretty dirty hair (I was on day three here), just to give the strands a bit more grip.
First, section off a bit of the front to serve as your bangs. I went maybe half an inch back from my hairline, but you can do more or less depending on what works for you.

Working back from where you sectioned off your "bangs," vigorously tease your hair to create maximum volume. It is difficult to tease hair this short, but it's easier if you use a fine tooth comb, like the cheap kind you can get at the gas station, or one made specifically for teasing. I managed it with a wide tooth comb, although I didn't get quite as much volume as I would have liked.


Using a one inch curling iron, curl hair horizontally back from your face to your crown. Ideally, you want two rows of curls all going the same way. Spray with hairspray to hold.


Grab the back row and roll it forward, pinning it so that it rests just behind the first row of curls. You want it to be secure, but not flat. It's what's going to anchor the "beehive," so you want a bit of height and texture to give volume to the bump.

Roll the first row of curls back and slightly under, and pin it to the teased and curled hair you have pinned underneath. I recommend using professional quality pins; you'll be able to use fewer of them, so they be less visible and the weight will rob less volume from your style.

Smooth down any hairs that are too short to pin using hairspray. You may end up having to bring some pieces of hair to your bangs, but some you may be able to coax into becoming part of the beehive.
Add your favorite hair accessory, like a scarf, headband, or flower. I added a scarf, partly to keep everything in place, and partly because I really need to touch up my roots and that does the best job of disguising them.

I love having easy, wash-and-go hair, but I really enjoyed the challenge of doing something a little different with my hair. I might have to do more short hair tutorials in the future.
Jessica
